Password Protect Folders
The Best Ways to Hide or Password Protect a Folder in Windows
Option One: Hide any folder with a single checkbox
Difficulty Level
Very Easy
Level of Security: Low
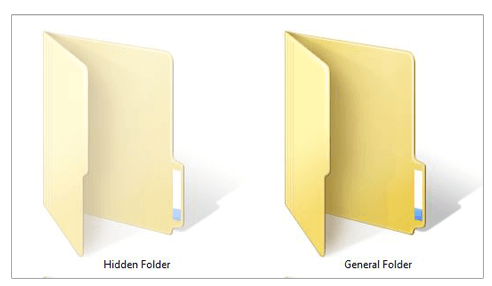
If you are only interested in hiding a couple of folders from view, then Windows has a built-in option that lets you do so. This option, however, is not a reliable option as anyone can get access to hidden folders with a simple technique. This method may fool a small child but would not pass through anyone knowing passing knowledge of a computer.
I find this setting useful for folders that I don't want to see! For example, I only want to see my documents and I don't want to see the gaming folder by the name 'Games'.
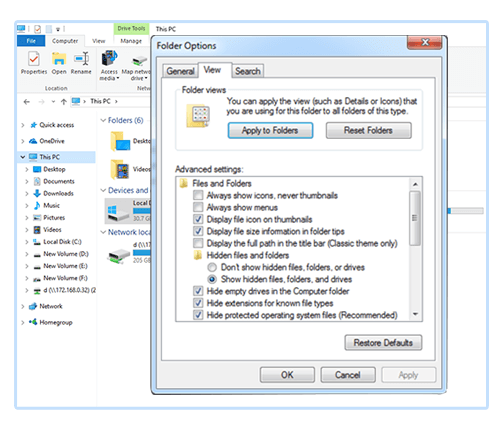
How to hide files and folders
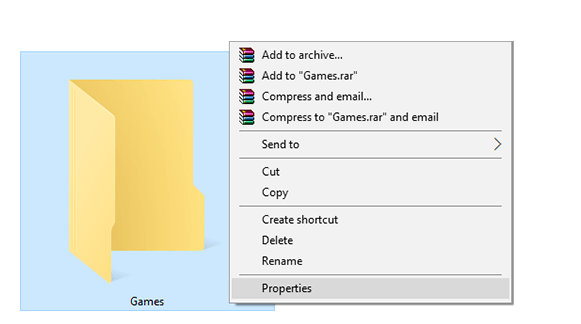
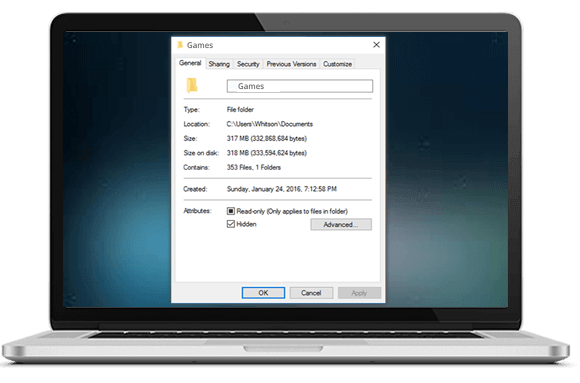
If that's what you want, the process is quite easy. Open windows' File Explorer and navigate to the file or folder that you want to hide. Right click on it, tap on 'Properties' and check the 'Hidden' box in the menu. Finally, Click on 'OK' and there you go, your folder/file is hidden!
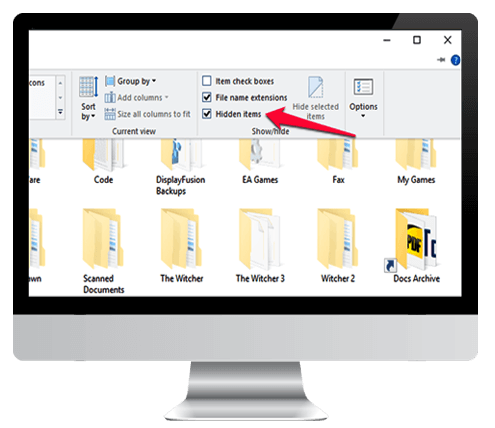
If you ever need to access it later, you can do so by clicking on the 'View' menu in the file explorer and checking the 'Hidden Items' box.
Note: This step would not protect your files at all as it will just hide them from being viewed. Anyone with a bit of info can easily find them!

Option Two: Create a Password-Protected Folder with Folder Lock
Difficulty Level
Medium
Level of Security: High
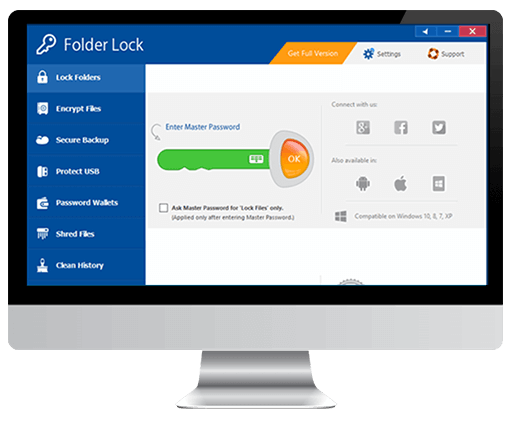
Now here we are, standing all alone thinking is there anything reliable? Yes, there is. The above mentioned steps are available but aren't reliable. If you're in possession of something confidential, then you should opt for a 3rd party software. I would try to recommend you to use Folder Lock. The name of this software is quite self-explanatory so I don't have to go into the details but what I could tell you is that it's reliable.
Folders/files can be password protected using this 3rd party software which has a bit flashy interface. My point is, I don't like the interface as it's too flashy but that doesn't stop me from having a complete peace of mind. Furthermore, it has way too many options that do not test my appetite.
Option Three: Turn a folder into a hidden system folder with a Command Prompt command
Difficulty Level
Medium
Level of Security: Low
For the sake of argument, let's assume your siblings know how to show hidden files and folders in Windows. Who doesn't right? Well, we got another trick that lets you hide files/folders with a bit of obscurity. However, this method isn't a reliable option but it works without any extra software and does protect you from the not-so-tech-savvy-users.
Make a Super Hidden Folder in Windows Without any Extra Software
Bear in mind you need to know a bit of command line work and if by any chance you aren't comfortable with the Command Prompt or dealing with the deep settings of Windows, Look Away my friend, this option isn't suitable for you! The quickest way to make a hidden folder/file is to mark it is as an important file of the operating system. That way Windows won't display it even if the explorer is set to display the hidden folders or files.
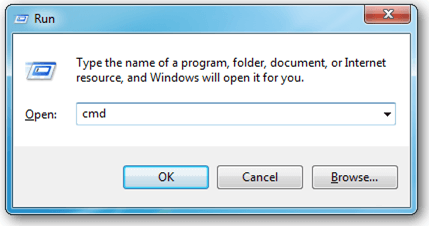
How to do so? Read on. First of all, launch a command prompt by pressing the Win + R Key combination, type in cmd and click on enter.
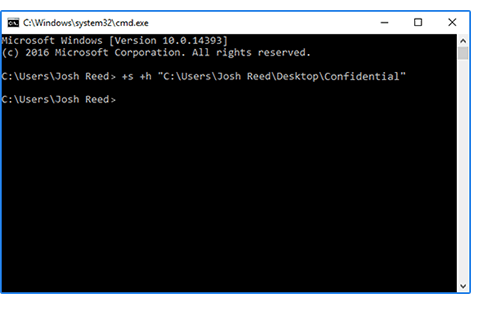
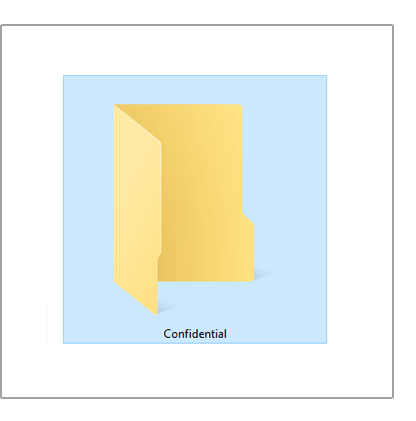
Furthermore, we need to use the attrib command. Type in the attrib command similar to the following command. (You'll need to substitute the path to your folder here). attrib +s +h "C:\Users\Josh Reed\Desktop\Confidential" In the same way, you'll have to replace the stuff in quotes to an absolute path of a file or folder that you want to hide.
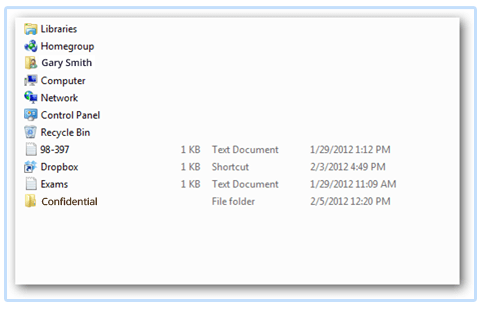
Doing so will hide your folder/file (as shown in the picture) and nobody would be able to identify that you're in possession of such folder or file.

In the same way, to unhide a folder or file, you can use the same command but the only difference is use "-" instead of the "+" signs!
To unhide the file or folder you can run the same command, except this time use "-" instead of the "+" signs. attrib -s -h "C:\Users\ Josh Reed \Desktop\ Confidential"
Like magic, my folder appeared again.
In this way, it's well obvious that you can easily hide and unhide your file/folder without any hesitation. Furthermore, this method is one of the easiest and quickest methods that require no hard and fast rule or tech-savvy knowledge. But since, it does not require much knowledge or much skill; it then involves a risk factor which cannot be avoided. Anyone having a bit of knowledge or experience can easily penetrate through this method without working too hard and gain access to your confidential files. So it's hard to say that such method is trustworthy.
Option Four: Encrypt a file or folder without Extra Software
Difficulty Level
Medium
Level of Security: Low
Another method of protecting your files is through encryption. This encryption can only be unlocked using a password and it would be a mess for someone who tries to access it without a designated password. So in short, the files would only be accessible if you're logged in as the right user. All you need to do is right-click on a folder or file, click on properties, tap on Advanced and make sure the 'Encrypt Contents to Secure Data' is checked.

Option Five: Create a compressed folder in Windows XP
Difficulty Level
Moderate
Level of Security: Medium
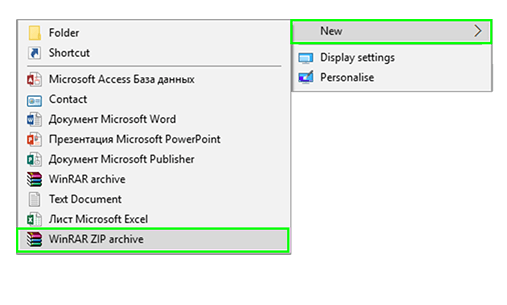
1. To create a compressed folder, first right-click on your desktop or anyplace you'd like to create a folder, select 'New' and click Compressed (zipped) Folder. Doing so will create a new .zip file in which you can add files.
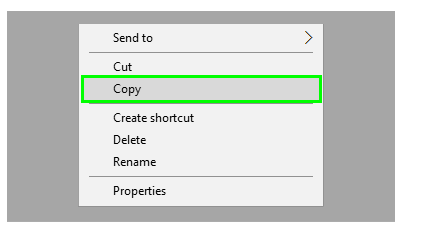
2. Now comes the step of moving your files. Furthermore, click and drag or simply copy and paste your files into the new .zip file. Remember, you have the complete freedom to move as many files/folders as you like, Voila!
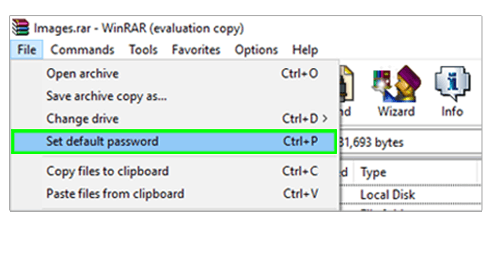
3. But that's not it! Once you've moved everything, you need to add a password. How? Read on. To put a password, simply open the .zip file, tap on 'File' and Select 'Add a Password'. Here you're supposed to create a password of your own choice but do not make the mistake of creating a very basic password. Try to create something rare and not so common. (if you need tips on creating a better password, you may learn them at the end of this page). Hence, now you will need this password every time you access this .zip file.
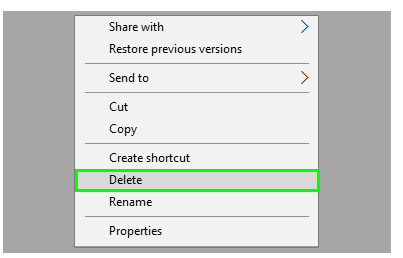
4. Once all of this done (.zip file is created), you'll be having 2 copies of your folder such as the original and the .zip file. At this very moment, move or delete your original so that it cannot be tempered with, Cheers! You're free.